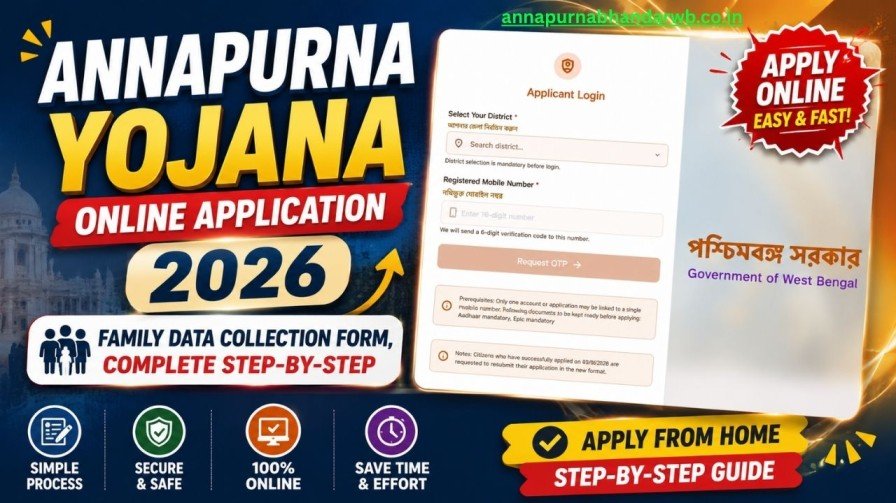
Annapurna Yojana Online Apply takes most applicants under 15 minutes once their documents are ready. This guide walks through the portal screen by screen, so you know exactly what to expect at each step and how to avoid the errors that most commonly trip people up.
Before You Start
Keep these ready on your phone or computer: your Aadhaar number, a mobile number linked to that Aadhaar (for OTP), scanned or photographed copies of your Voter ID and bank passbook, and a recent passport-size photo saved as a JPEG or PNG file within the portal’s upload size limit.
Step 1: Access the Portal
Open the official Social Registry West Bengal portal in your browser. Avoid links shared over WhatsApp or SMS from unknown numbers — always type the official web address directly or use a bookmarked link, since fake look-alike portals have been reported for similar welfare schemes in the past.
Step 2: Register or Log In
New applicants select “New Registration” and enter their mobile number to receive an OTP. Existing Lakshmir Bhandar beneficiaries should first check if they’ve been auto-migrated before registering fresh — logging in with your existing credentials will show your current status.
Step 3: Enter Personal & Aadhaar Details
Enter your Aadhaar number exactly as printed, and your name as it appears on your Aadhaar. The portal typically runs an automatic match check against Aadhaar records, and a mismatch here is one of the most common reasons an online application stalls before it’s even submitted.
Step 4: Fill Address & Residency Details
You’ll be asked to select your district, block, and gram panchayat or ward. Choosing the wrong administrative unit is a common mistake that can misroute your application to the wrong local office for verification, so double-check this against your Voter ID before moving on.
Step 5: Enter Bank Account Details
Type your account number twice if the portal asks for confirmation, and enter your IFSC code carefully — a single wrong digit is enough to cause your DBT payment to fail even after your application is otherwise approved.
Step 6: Upload Documents
Upload your Voter ID, bank passbook, and photo as separate files if the portal asks for them individually. Keep each file within the stated size limit and make sure the text is clearly readable — blurry uploads are a frequent cause of manual review delays.
Step 7: Review & Submit
Before hitting submit, re-read every field on the summary screen. Once submitted, most fields cannot be edited without a formal correction request, so this is your last easy chance to catch a typo.
Step 8: Save Your Reference Number
The portal will generate an Application Reference Number — screenshot it or write it down immediately. This is what you’ll need for status checks and any future corrections.
Common Online-Specific Problems
- OTP not arriving: Wait at least two minutes before requesting again; repeated quick requests can temporarily lock OTP attempts.
- Session timeout: The portal often logs out after a few minutes of inactivity — fill in bank and Aadhaar details in one sitting rather than pausing partway through.
- Upload failing repeatedly: Try compressing the image or switching the file format if the portal isn’t accepting your file.
Frequently Asked Questions
Q: Can I apply online from a mobile phone, or do I need a computer? The portal is mobile-friendly and works on any smartphone browser; you don’t need a computer.
Q: What happens if I lose internet connection while filling the form? Unsaved sections are usually lost, so it’s safer to fill the form when you have a stable connection rather than saving progress partway.
Q: Is there a fee for applying online? No, the application process itself is free. Be cautious of anyone asking for payment to “help” you apply.
Q: How do I know my online application went through successfully? You should receive an on-screen confirmation along with your Application Reference Number. If you didn’t see this, log back in and check your application status before assuming it was submitted.